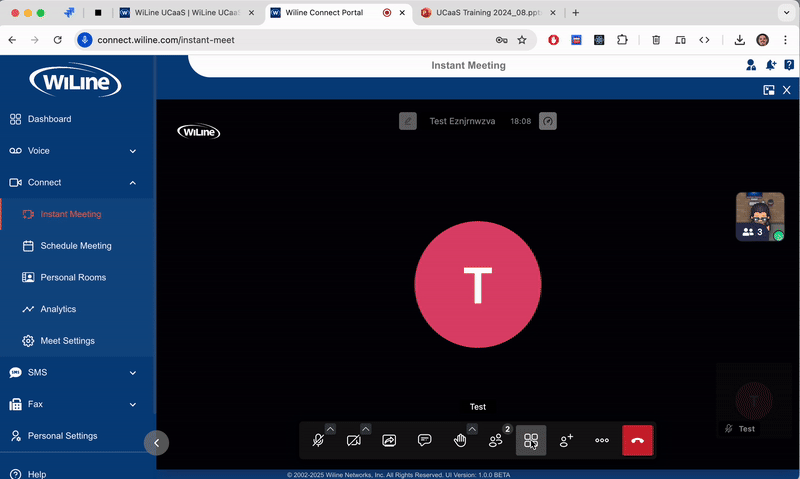
Manage Meeting Features
Manage meeting features in the Connect Portal to enhance communication and collaboration during your meetings. From screen sharing to managing breakout rooms, these tools streamline your meetings and boost productivity with ease.
Share Your Screen
Present content, collaborate, or demonstrate ideas during a meeting.
Use Chrome for Optimized Screen Sharing
We recommend using Google Chrome for advanced sharing features:
- Audio Sharing: Share audio when selecting a specific tab.
- Flexible Sharing: Choose from entire desktop, app window, or browser tab.
How to Share Your Screen in Chrome:
- Click the Share Screen button in the meeting toolbar.
- Choose one of the following:
- Entire Screen: Share your entire desktop.
- Window: Share a specific app window.
- Chrome Tab: Share a browser tab (for audio sharing).
- If selecting Chrome Tab:
- Choose the tab.
- Check Share tab audio if needed.
- Click Share to begin.
- To stop sharing, click Stop Sharing in the toolbar.
For videos, ensure they’re hosted online (e.g., YouTube or Google Drive). Local video files will not share audio in Chrome.
Share a PowerPoint Presentation
Share your PowerPoint slides seamlessly:
- Click Share Screen.
- Select Window and choose the PowerPoint application.
View Participants While Presenting
Keep participant cameras visible while presenting:
-
Enable Presenter View:
- In PowerPoint, navigate to the Slide Show tab.
- Check Use Presenter View to view slides on one monitor and notes on another.
-
Use Dual Monitors:
- Connect a second monitor.
- Move your PowerPoint presentation to the second screen.
- Keep the meeting window open on the primary screen.
- After starting your presentation, return to the meeting window to view participant cameras.

- Stop Sharing:
- After the presentation, click Stop Sharing.
Presenter View and dual monitors help you manage presentations while monitoring participant reactions.
Share your PowerPoint slides seamlessly:
- Click Share Screen.
- Select Window and choose the PowerPoint application.
View Participants While Presenting
Keep participant cameras visible while presenting:
-
Use Dual Monitors:
- Connect a second monitor.
- Move your meeting window to the second screen, if necessary.
- Keep PowerPoint open on the primary screen.
- After starting your presentation, press cmd ⌘ + tab on macOS (or alt + tab on Windows) to return to the meeting window and view participant cameras.
-
View Both PowerPoint and Participant Cameras:
- Enable Presenter View:
- In PowerPoint, go to the Slide Show tab.
- Check Use Presenter View. You'll then view your PowerPoint slides in Presenter View on one monitor and the meeting on the other.
Note: If you need to switch back to the meeting window, press command ⌘ + tab on macOS (or alt + tab on Windows).
- Enable Presenter View:
-
Without Dual Monitors:
If you don’t have a second screen, you can still view participant cameras by:
- Switching Between Tabs: Use ⌘-Tab on macOS or Alt-Tab on Windows to toggle between your presentation and the meeting window.
Figure 2. Enabling Presenter View. -
Stop Sharing:
- After the presentation, click Stop Sharing.
Presenter View and dual monitors help you manage your presentation while keeping an eye on participant reactions.
With the Connect Portal, you can effortlessly manage every aspect of your meeting, from sharing content to controlling participant interactions, ensuring a streamlined and productive experience for all.